I started the ruler and compass series a while ago and am just now getting back to it. Here is my construction of a perpendicular bisector of a given line segment.
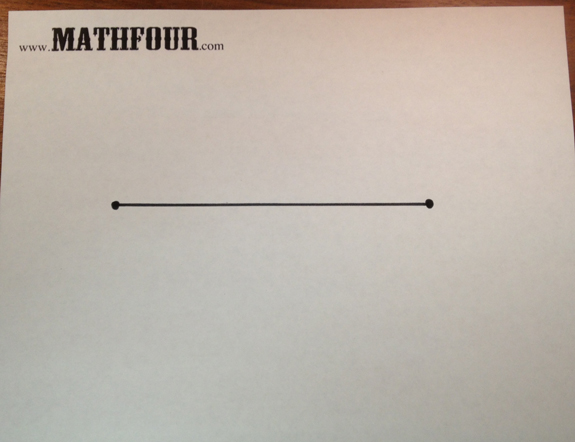
First, I drew a line segment:
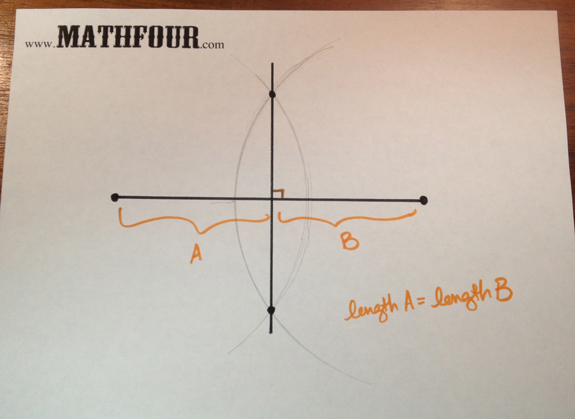
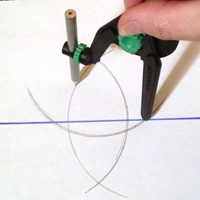
Using my compass (which quickly gave out on me), I made two big fat arcs. They have the same radius — this is important.
Where those two cross, I drew a line. That line is the perpendicular bisector of the original segment (which means it makes a 90° angle and splits it into two equal parts):
Why does it work?
Well, that’s a great question. I’m sure there’s some proof of why this actually results in splitting the original line segment in half with a perpendicular line. I’ll have to think on it more.
But intuitively it totally feels right.
Now that’s a bad way to proceed with math, but it’s a great first start!
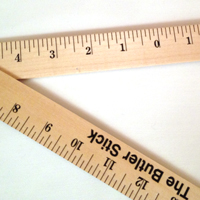
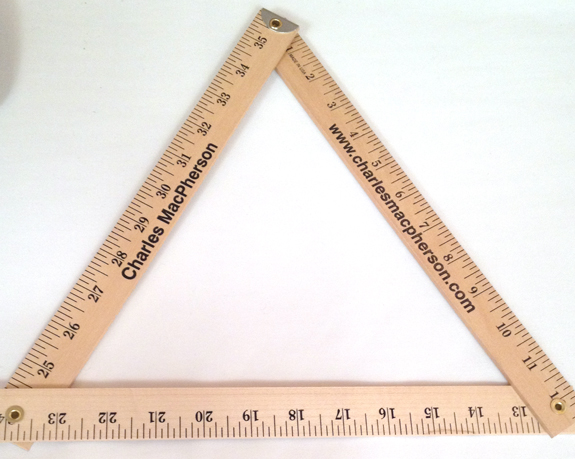
I’m at the Domestic Estate Manager’s Association Convention this weekend with Husband and I’ve discovered a marvelous math tool. It’s called “The Butler Stick” and it’s used by butlers and other domestic service personel — mostly.
But there’s a lot of math in it — enough to integrate The Butler Stick into your world as another learning tool.
On one side it’s a yardstick.
The Butler Stick has thirty six fun inches to measure just about anything. It’s foldable, though, so you can store it like a standard ruler.
You can show an equilateral triangle with it, as well play with various angles.
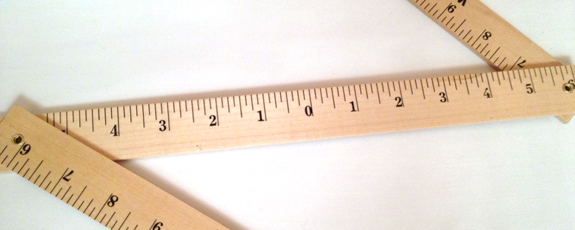
On the other side it’s a number line!
Okay, so it’s missing the negative signs on the left, but those are easily added with a sharpie.
The Butler Stick is typically used to set a table. The plate is centered at zero, and from there you can symmetrically lay out the flatware and other bits.
You can use it to teach proper place setting (something every child should know) and inject some math into dinnertime!
You can also use it to create other things of symmetry. Use it to have fun with math during art lessons.
Treat your family to one!
They sell The Butler Stick at Charles MacPhearson’s site, but you have to call to order it (416-369-1146). It’s not cheap, at $24.95, but it’s well made and looks like it would take a beating from a few children. (But not give a beating!)
Or you could try it out for a while by making your own. Use some some cardboard and rivets and you’ll be able to see the value of it. It’s a crude version, but the math’s the same.
Once you see how cool it is, you’ll be calling them up — just like me!
I’d never heard of this thing until grad school. And even then, I never asked what it was. Over the course of time I eventually figured it out, but never really got an opportunity to do much with it. Nor have I had a chance to teach it.
A teacher interview question from Oleg Gleizer’s book inspired me to think about, and learn, this nifty skill.
A ruler-and-compass construction is the construction of lengths, angles, and geometric figures using only a ruler and compass.
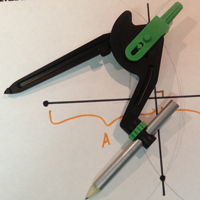
This means that you can take one of those “pointer and pencil circle making things” and anything really straight (the side of your new iPhone, the edge of a file folder, etc.) and make pretty much create anything in geometry.
Pretty cool, huh?
I gave it a shot!
I used Oleg’s teacher interview question:
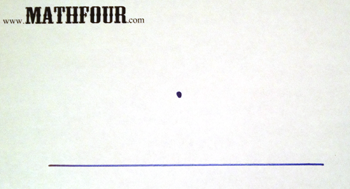
Given a straight line and a point away from it, how would you draw another straight line passing through the point and perpendicular to the original line, using a compass and straightedge as tools?
Can I do it? Of course!
Well… I thought about it and it seemed like I could. So I went out and got a compass, and used a fingernail file as a straight edge. Here’s how I did it:
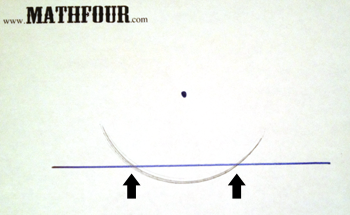
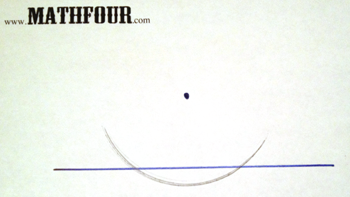
Here’s the line and the point. Easy peasy.
I made an arc from the point through the line, so I would have two spots on the line (where the circle piece went through):
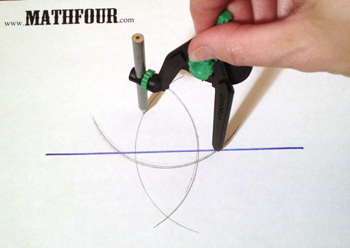
From those two places, I made two more arcs through the point above and long enough to run into each other below:
I connected the point with the intersection of the arcs at the bottom and VOILA: perpendicular line to the other line!
Join me in the journey!
This is the first in my ruler and compass journey. They’re kind of fun, and I want to do more. So I will house them here, for future reference.
Here are the first 10 on my list.
Line perpendicular to given line through given point not on given line. (this one)
Perpendicular bisector of given segment.
Right angle at given point on given line.
Square with given segment as side.
Equilateral triangle with given segment as side.
Hexagon with given segment as side.
Copy a given angle to a given segment.
Line parallel to given line through point not on given line.
Dividing given segment into N equal parts.
Bisecting a given angle.
Grab a straightedge and compass for each member of your family and join me – let me know you’re on board in the comments or via email.


